
Cleaning Gadgets vs. Traditional Tools: Which Is Truly More Cost-Efficient?
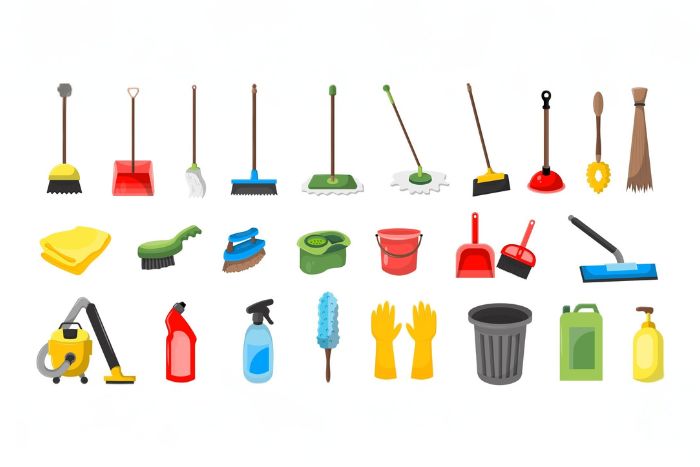
In a world brimming with innovative cleaning solutions, the question arises: Are cleaning gadgets more cost-efficient than traditional tools? At […]
In a world brimming with innovative cleaning solutions, the question arises: Are cleaning gadgets more cost-efficient than traditional tools? At […]
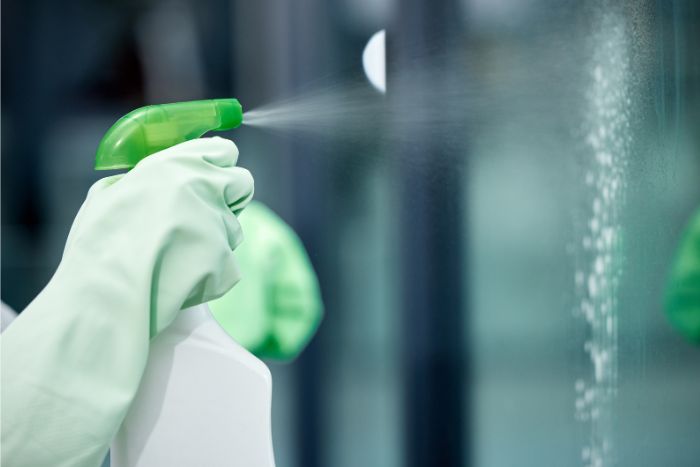
When it comes to managing allergies in the home, cleaning isn’t just about aesthetic appeal; it is a frontline defense
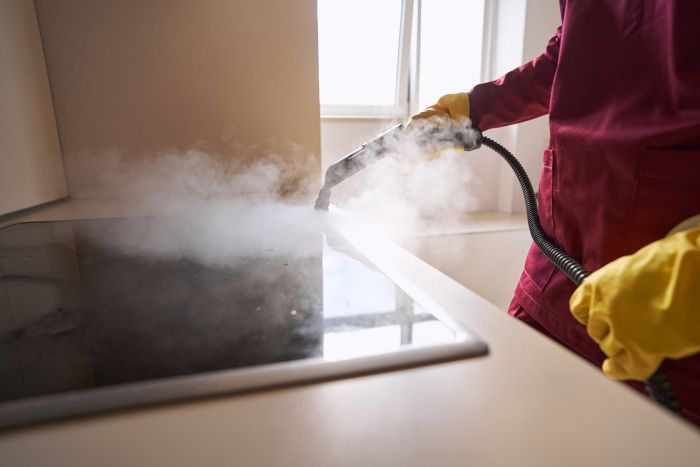
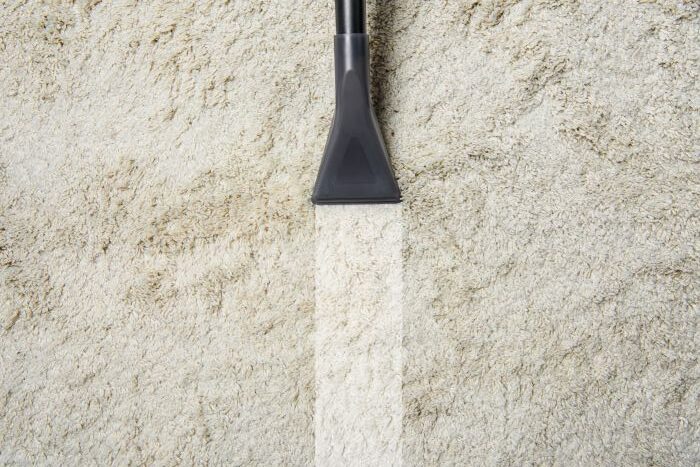
In an era where cleanliness intersects with sustainability, steam cleaning has emerged as a game-changer. Unlike conventional mopping, which often
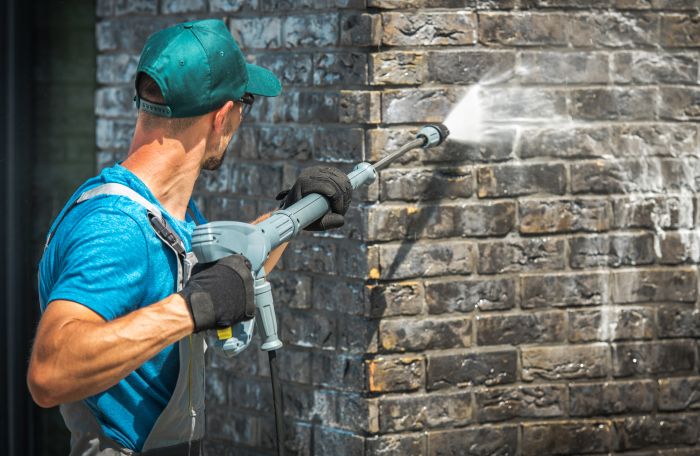
The first time I used a pressure washer, I aimed it at my deck and accidentally power-sprayed my neighbor’s cat.
—those sneaky black/green spots. If it’s minimal, roll up your sleeves. If it looks like a science experiment? Call a
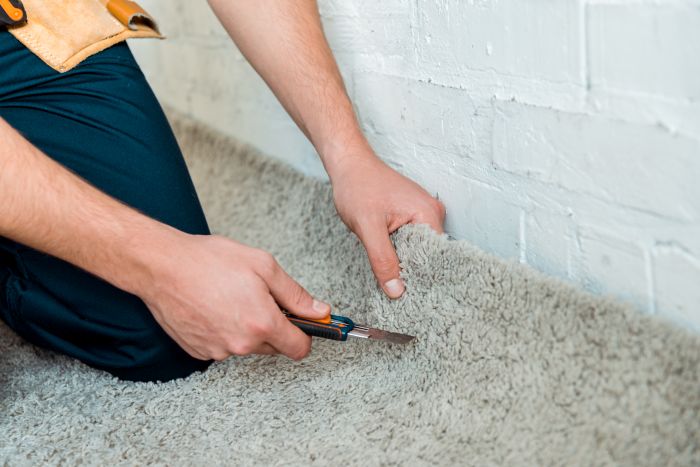
Let’s cut to the chase: carpets are traitors. They’re all “Ooh, look at me, I’m so soft and cozy!” until you faceplant
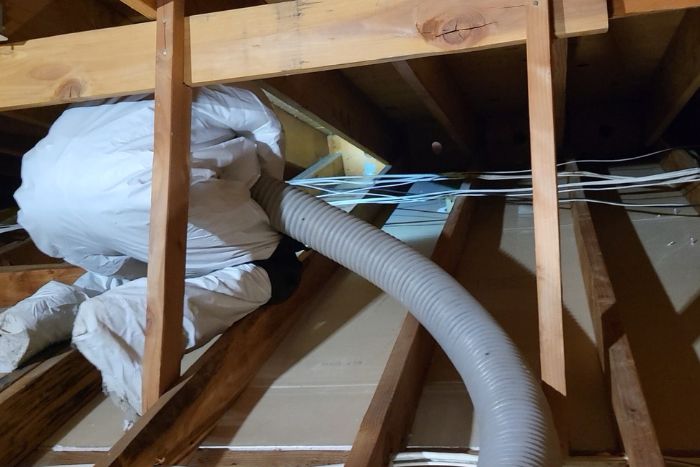
Your attic might be out of sight, but it shouldn’t be out of mind. Hidden beneath that dusty hatch lies
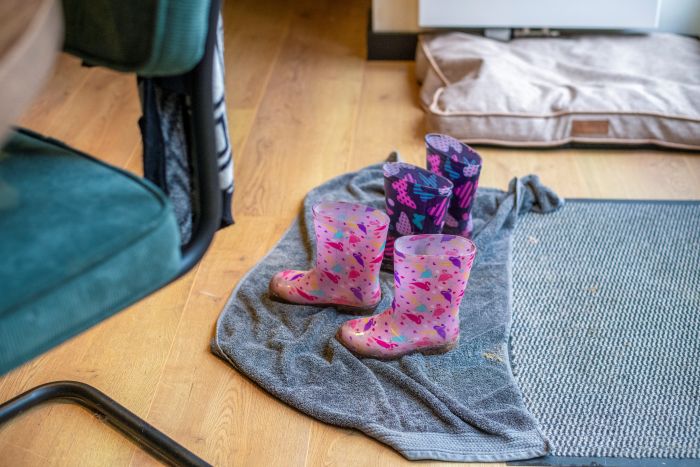
Save Your Floors (and Wallet) With These Genius Tips Let’s face it—carpets take a beating. From muddy paw prints to
Let’s talk about something we all dread but can’t avoid – CLEANING. This is a major part of our lives
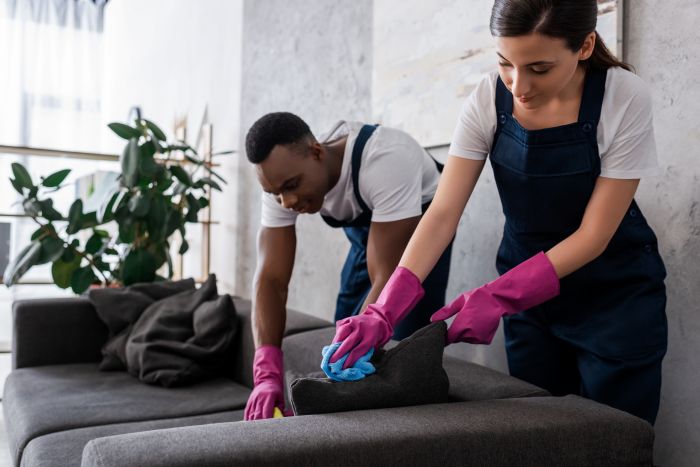
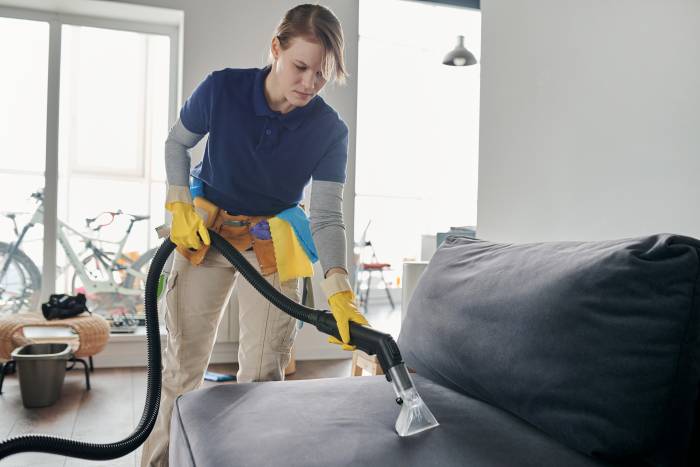
Upholstery helps enhance the comfort and aesthetics of your home. However, everyday use, spills, pet hair, and dust can make